There’s an old Chinese proverb that goes, “The best time to plant a tree was 20 years ago. The second best time is now.”
In this article, I am going to show you how you can easily propagate a variety of hardwood trees from branch cuttings to save hundreds or even thousands of dollars.
Trees and shrubs are expensive, especially when you need to buy a lot of them at once. Here on our 18-acre property, I’m looking at planting hundreds of trees as we “bump out” trails along the existing tree line and plant our property line almost a quarter mile out to the road with a double row of trees on either side of what will be a new trail.
Thanks to the devastation wrought by the nefarious emerald ash borer that moved through the United States in recent decades, there are also at least a couple hundred dead standing ash trees throughout our woods that I will fell for firewood as I have the time. It is important to me to replace these trees with high-value timber and other trees that will serve as food and shelter for the wildlife that makes our property so special to me.
The bottom line is that the larger the tree, the more you’re going to pay. Larger transplants command more money because you won’t have to wait as long to get the shade or aesthetics that you’re seeking.
I have used the method I outline below to successfully propagate red and silver maples, cottonwoods, willows, poplars, mulberries, red twig dogwoods, high bush cranberries, burning bushes, and boxwoods.
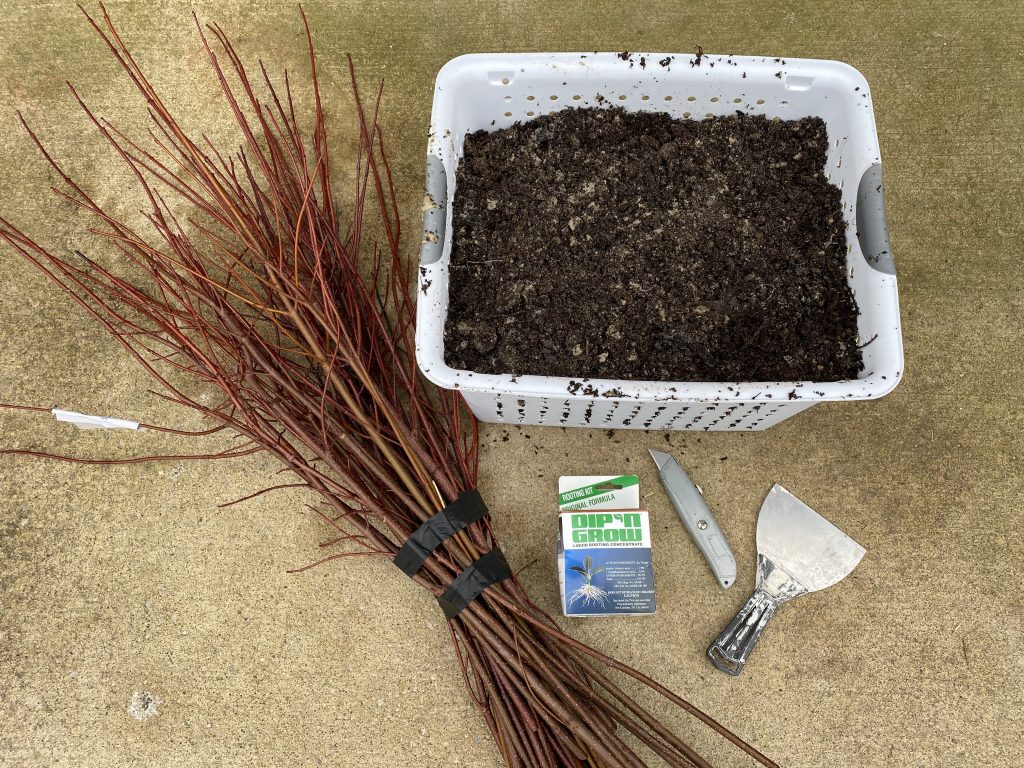
You’ll need the following items:
– freshly cut branches from new growth of trees
– soil or soil/sand mix
– a plastic tub with drainage holes
– rooting hormone
– a sharp utility or pocket knife
– a wide putty knife (optional)
1. Remove the cuttings from the tree you’re propagating while it is still dormant or semi-dormant, as your cutting will likely dry out and die if it has already leafed out. Make sure you’re cutting off new growth only (less than a year old), either from branches or from the stump of a cut tree that is sending up new growth. Older growth does not respond as well to rooting hormone and will be too much for the comparatively young new roots to support.
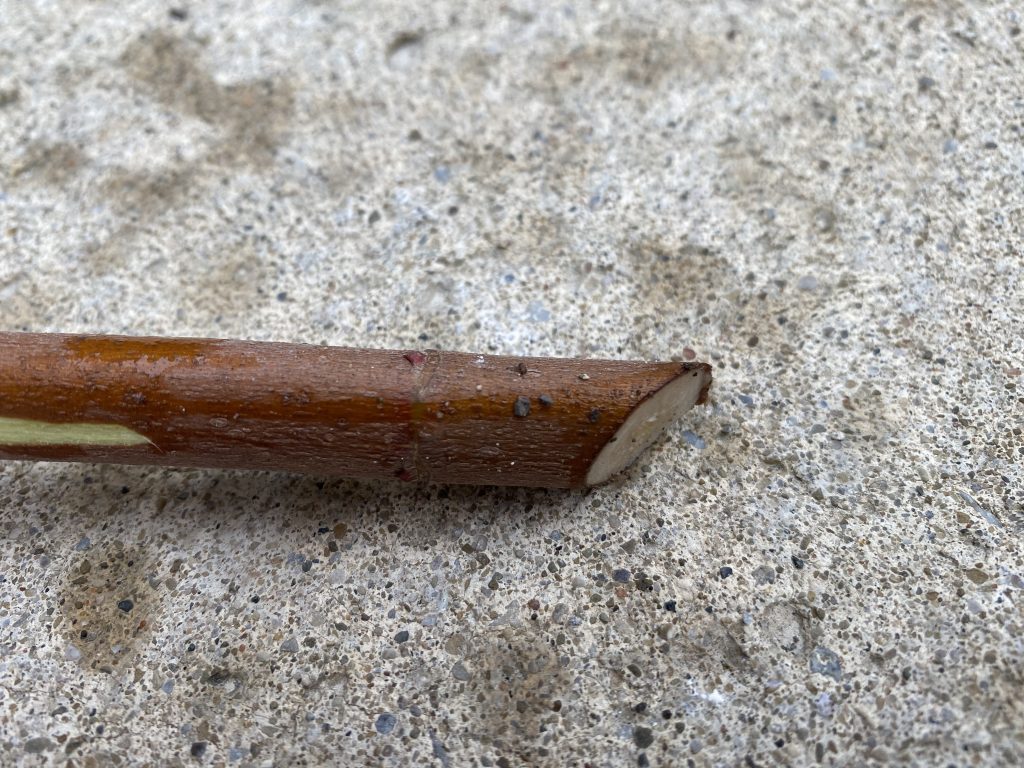
Anywhere between one to two feet long per cutting is ideal. Cut the branch at an angle to maximize the surface area available for absorbing the rooting hormone and developing roots at the bottom of what will be the new trunk.
2. Fill a plastic tub with quality soil or a soil/sand mixture. I prefer the latter, as a higher concentration of sand in the soil helps ensure drainage. Water-lodged soil decreases the amount of oxygen available to the tree. The roots’ inability to “breathe” or their drying out completely constitute the majority of the reasons why your new cuttings don’t survive.
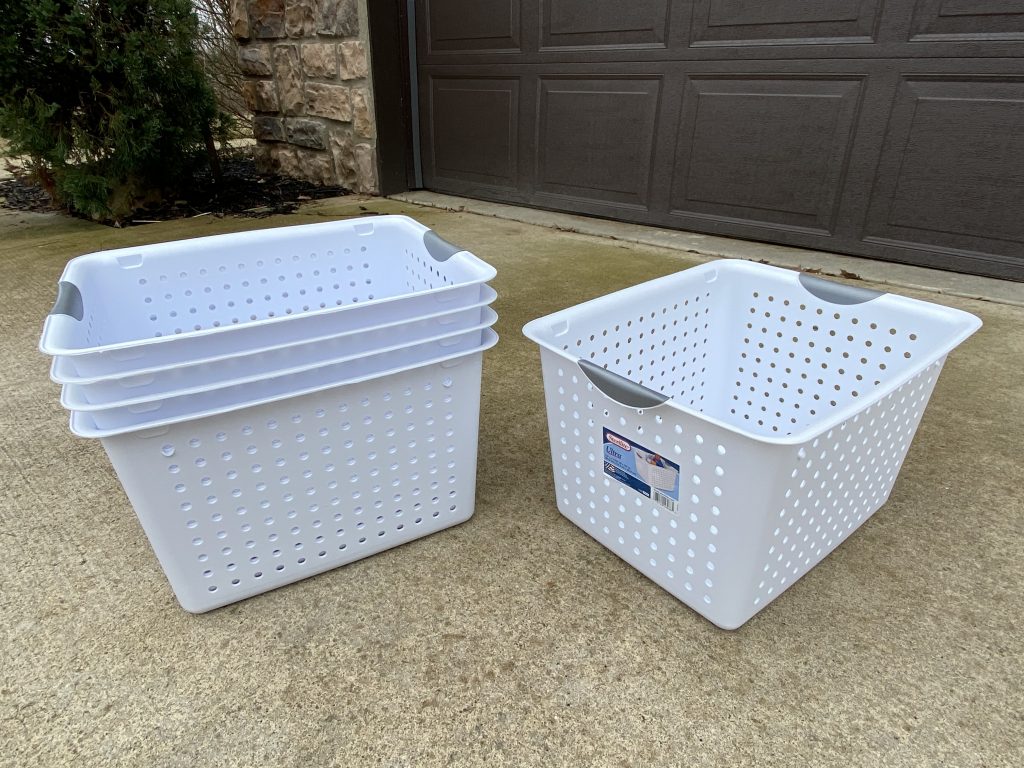
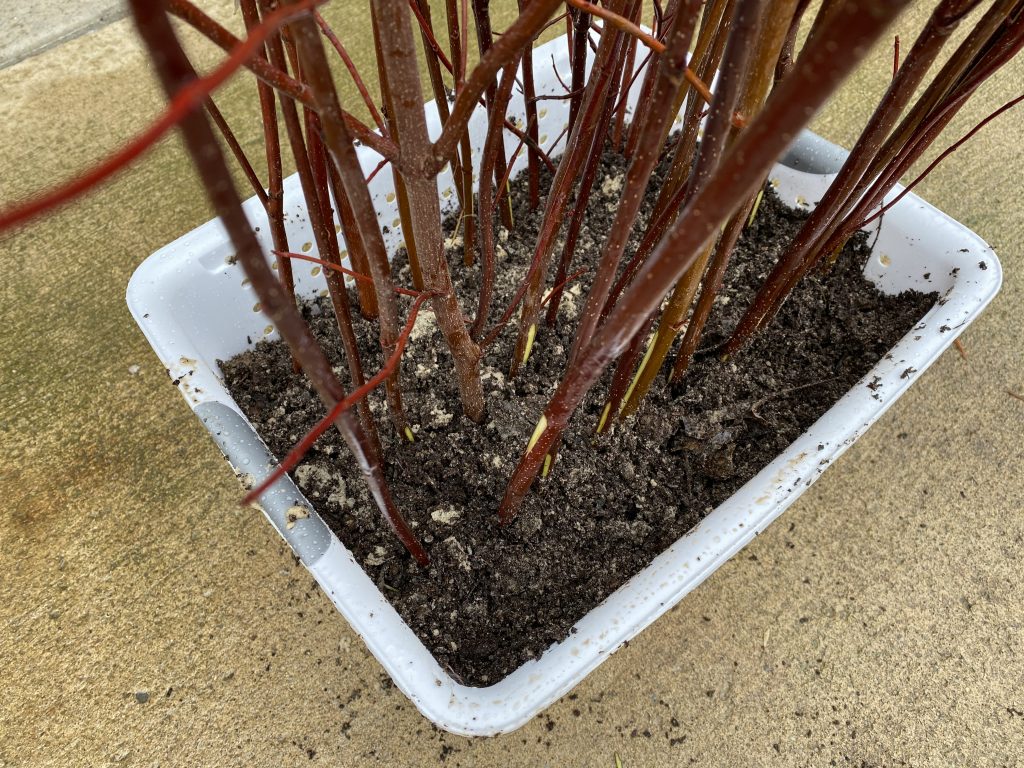
I picked up several Sterilite brand plastic tubs from our local dollar store. These are perfect for starting trees because they already have holes in the sides for drainage. Any container will do; just make sure water isn’t going to sit in the bottom of it and drown your roots. Saturate the soil mixture with the hose.
Don’t worry about your medium falling through the holes – it actually stays put remarkably well if you lightly tamp it down against the sides of the tub with the putty knife.
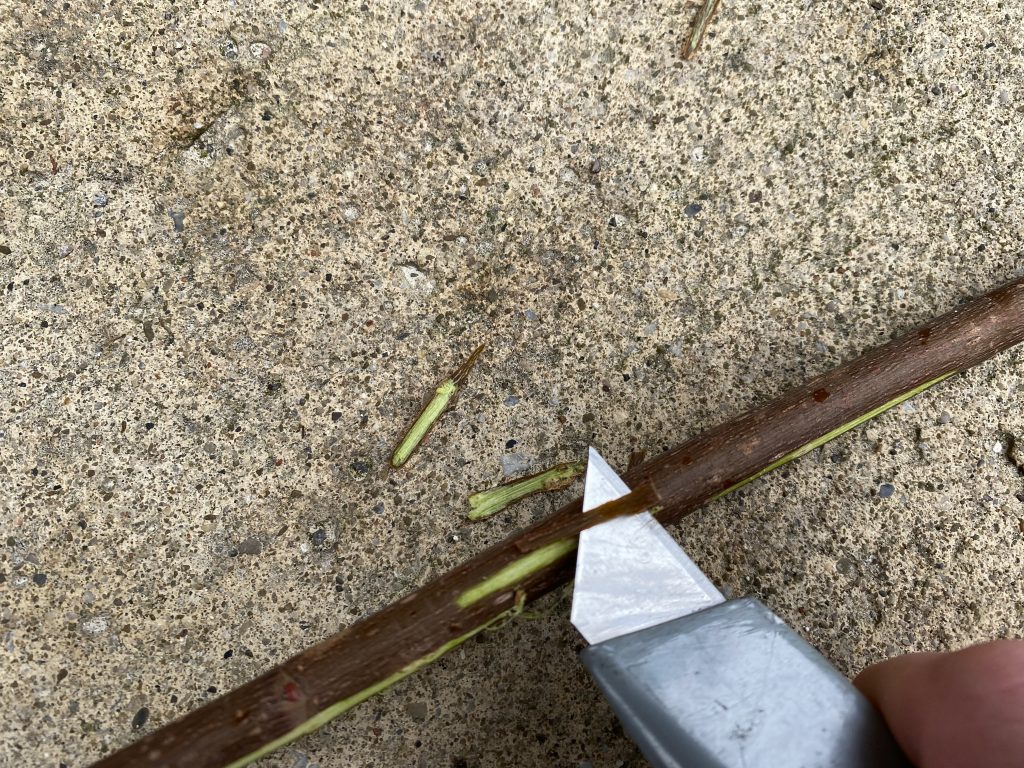
3. Using a utility knife with a fresh blade or a sharp pocket knife, carefully strip off the top layer of bark to expose the cambium in several spots along the part of the cutting that will be beneath the soil (approximately the bottom third of the cutting.)
The cambium is the growing part of the trunk. This is where the new roots will come from in response to hormones that travel down with the food from the leaves. In our case, we are tricking the tree by supplying the rooting hormone.
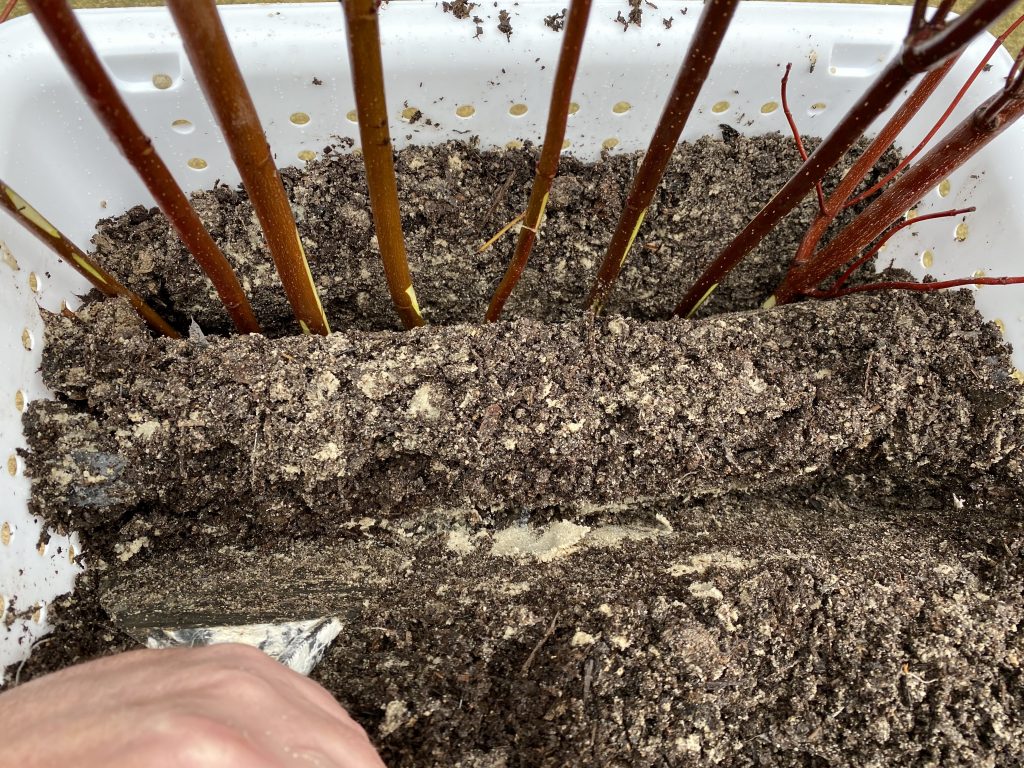
4. Make a trench with your putty knife that is deep enough for about one half to one third of the length of your cuttings. Leave four or five inches in between rows. Don’t be alarmed by the close spacing – your trees won’t be in the tub long enough to send out enough lateral growth to cause a problem.
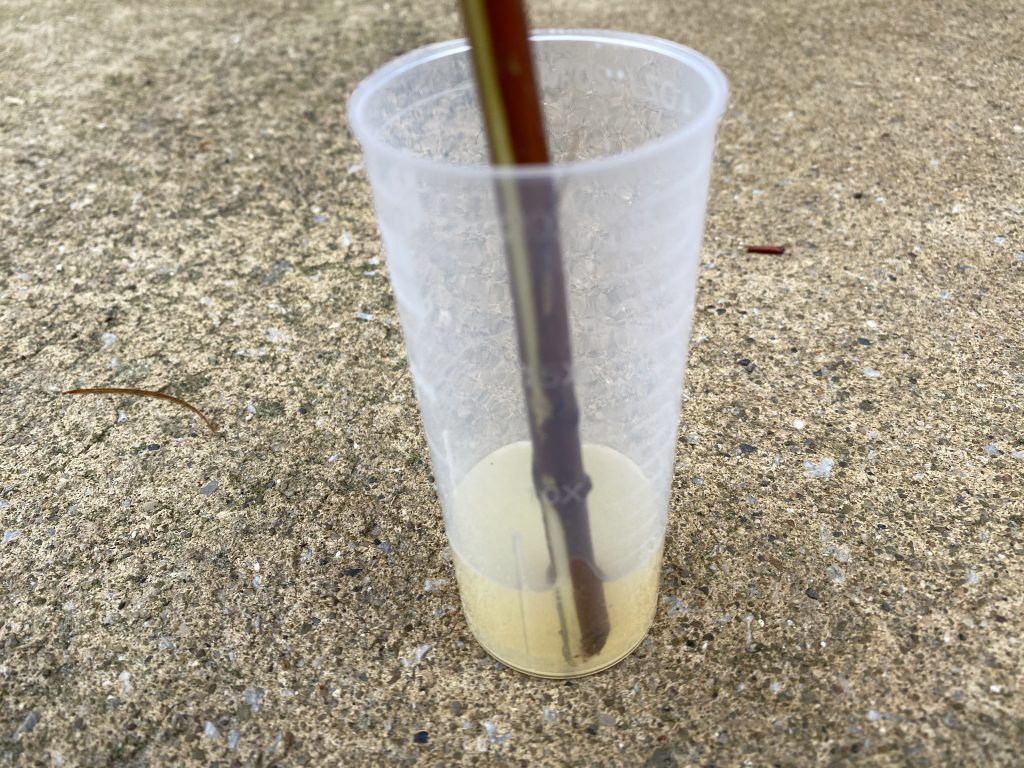
5. Mix the rooting hormone according to the supplier’s directions. Pay attention to the ratio required for softwood vs. hardwood or semi-hardwood. Dip the cut end of the branch in the rooting hormone for 5-10 seconds and then plant it in the trench, leaving one third to one half of the cutting above the soil line. Only mix as much rooting hormone as you can use within 10 hours per the manufacturer’s recommendation, as the solution’s efficacy is reduced once it has been mixed with water.
6. Backfill the trenches with your hands and gently tamp down the soil around the trunks. Just like when you transplant a potted tree from a nursery into the ground, the idea is to eliminate air pockets around the roots that will cause them to dry out and not receive nutrients.
It’s “game over” for trees started from root cuttings if your planting medium dries out before the tree has set out new roots. At this point, some people put the container inside a large trash bag to keep the soil moist. This is a good solution for those who know they won’t be watering the medium regularly. Use a white bag rather than clear or black so that you don’t overheat and kill your new trees. It’s important to keep the container in a partially to mostly shaded area (the rooting hormone solution I used calls for 50% shade for hardwood cuttings) while the trees are establishing their new roots.
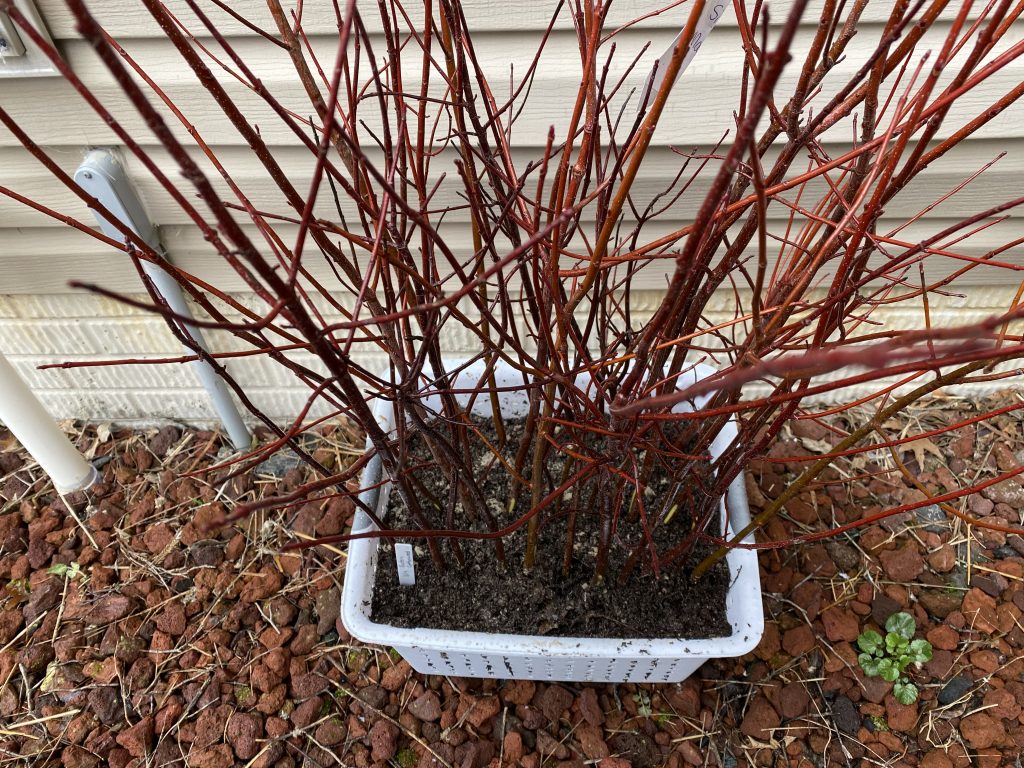
7. You can expect your cuttings to start establishing new roots as soon as a couple of months. Once two or three months have passed, gently pull up on the cutting just enough to check for resistance. If the cutting pulls straight up out of the soil, it’s safe to say that cutting isn’t going to take and you can discard it. If you feel some resistance and notice disturbance in a small radius around the trunk, then that’s a sign that the cutting has started to establish a root structure.
Keep in mind that there are a variety of factors to successfully starting trees this way and that you should be happy if one in two cuttings takes. Climate, soil contaminants, the condition of cuttings, and the variety of tree or shrub all affect your success rate.
Don’t be tempted to transplant your new tree just yet. Most hardwood root cuttings that successfully begin putting out new roots will do this in late spring or early summer. While it may have roots, keep in mind that these new roots are weak compared to the trunk since they didn’t start developing at the same time. The chances that it will survive if you transplant it now are relatively low because the tree as a whole isn’t equipped to deal with intense summer sun, dry periods, and high winds of summer storms.
Fall is the best time to plant trees because it allows the new tree three full seasons to acclimatize before it has to deal with the summer heat. While it is important to provide your new tree with water for the first couple of months, the soil tends to stay sufficiently moist during late fall, winter, and spring in most areas of the U.S. I establish my root cuttings in mid-March and transplant them to their final in-ground site in late September.
Do you want to learn more about how to select and care for your trees? Pick up a copy of Miracle Gro’s Complete Guide to Trees & Shrubs. You can read my review here.

